Monday, November 27, 2006

Motor!

(15? hours since last post, 69 hours total)

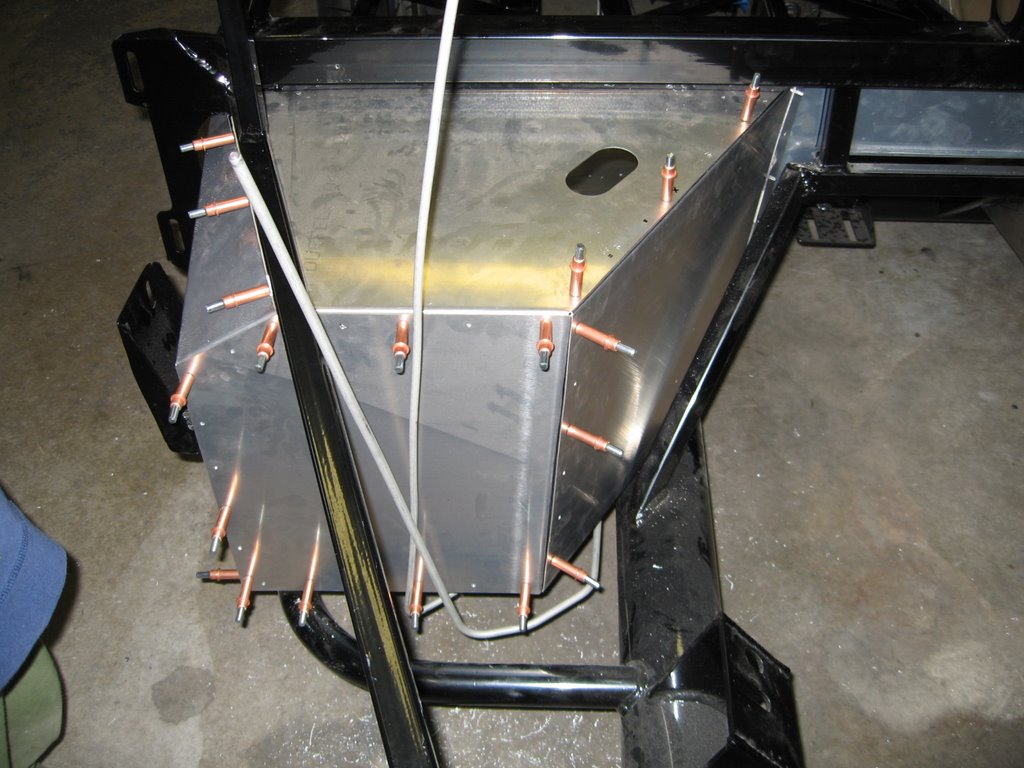
We'll call it 15 hours. I don't really know how accurate that is, since I've just been spending an hour here and there for the last week. I finished the cockpit rear aluminum. Drivers side was great. Passenger side didn't want to line up, so I had to trim it, but it is in too.

Then yesterday I tried to put the motor in. Got myself a load leveler from Harbor Freight. ($20) This is a device that lets you change the support point of your hanging load so that it tips, so you can drop the transmission tail down into the transmission tunnel, then flatten it out as you lower the motor.

Attempt #1:
This was the first attempt. At about this point, it became clear that I needed to have the crank on the other end of the load leveler, because it was going to hit the firewall.

Attempt #2:

No good pictures of this one. I tried the same thing but with the crank at the other end. This time, I got the motor down within a couple of inches of the motor mounts, but had to pull it back out because the load leveler hit the firewall crosspiece.

Attempt #3:
I took the upper intake manifold off the motor to get a little more room. I thought that if the load leveler was where the intake normally goes, I'd clear the firewall. It almost worked. It was so close that I could actually put the motor mount bolts onto the motor mount brackets, but I just couldn't drop them into the slots.

Attempt #4:

Went without the load leveler this time, with just a chain on the motor. That made it difficult to get the transmission tail up over the 4" round crosspiece in the transmission tunnel. But it eliminated all the clearance issues at the firewall. I used two jacks, a furniture dolly, a 2x4, and some wooden shims to maneuver the transmission in. The result? Success!

Sunday, November 19, 2006

Footboxes

(7 hours since last post, 54 hours total)

Completed the footboxes today. Actually, the driver's side is not installed, but all the panels are drilled and ready to go in, and that is by far the hard part.

But first, to catch up on photos:
The pedals as they'll look inside the car, more or less. The accelerator is the very nice Russ Thompson version. I discovered that the placement of this pedal is incompatible with the cruise control switches on the Mustang pedal box. Fortunately, I wasn't planning to use the cruise control anyway.


Passenger side footbox, as completed with Clecos. Took almost all of my 50 Clecos to hold it together like this.


Passenger footbox from the inside. Note all the aluminum debris from drilling the panels. This is when it is really good to have a helper.


Here's Emmett cleaning up all the drill debris. He's very enthusiastic about this task. I have to make sure to pick up anything that I don't want to fish out of the vacuum later.


The passenger footbox is complete. Drilled, bonded, and riveted. It's surprisingly solid. When the panels are anchored by a few screws at the corners, they're disturbingly flexible. When they're finished with rivets along each edge, they form a very rigid box.

The Drill Doctor that my Dad got me for Christmas last year has been extremely important. After drilling enough holes, I'll find the bit working very slowly even on the aluminum. A quick trip through the sharpener yields one of two results. Either the bit becomes completely useless, or it becomes fantastically sharp. I haven't figured out what creates the inconsistency, so I just sharpen again if necessary.

I'm taking 5 days off work, plus the Thanksgiving holidays, so I hope to get a lot done on the car. Ideally, I'd like to finish the aluminum and install the motor and transmission.

Monday, November 13, 2006

Aluminum panels

(Roughly 7 hours since last post, 47 hours total)

Some lost time from the last time I posted. This is my best guess. I spent two hours on the car last night.

I've started the aluminum panels that form the interior of the car.

Each piece is to be bonded to the frame with silicone sealant (to prevent rattles) and then riveted. Since most of the panels came mounted on the frame in the first place, I did at least mark the panels where they meet the frame. So for each piece, the procedure is something like this:

1. Compare the piece to the intended location to verify markings and perform a sanity check.
2. Drill panel for rivets. Mostly these are on 2-inch spacing, in straight lines. Drilling the aluminum is quick and easy.
3. Install the panel in place
4. Drill two or three holes in the frame, placing a Cleco in each. Clecos are temporary fasteners that hold like rivets, and they're perfect for this application.
5. Drill the remaining holes in the frame. The frame is steel, and though it isn't really hard steel, it isn't exactly quick to drill.
6. Remove the Clecos and remove the panel.
7. Apply silicone to the frame.
8. Re-install the panel using a few Clecos.
9. Rivet all the holes that don't have a Cleco in them.
10. Remove the Clecos and finish riveting.

So far I've done 5 panels. Two are the large floor panels, which have more rivets than anything else except maybe the trunk floor. The other 3 are small: The transmission tunnel front wall, the driver footbox floor, and the driver footbox front wall. That's a lot of drilling.

Oh, and I also installed the Russ Thompson gas pedal. Without the throttle cable yet, there's not much to it. It looks great.

I have some pictures, but they're not on the computer yet.

Wednesday, November 01, 2006

Pedals

(2 hours this weekend, 40 hours total)

I installed the pedal box (brake and clutch) this past weekend. Went in pretty easily once I got all the parts together The trick was in getting the brake pushrod out of the Mustang brake booster.

I had started this process a long time ago, when I first pulled the booster out. The build manual says something about crushing the plastic part in a vise and then pulling the pushrod out. Fine, but the studs were in the way of crushing it. So I did some cutting and drilling and whatnot and broke off the plastic part pretty good, but the pushrod did not come out. So I set the thing aside until this past weekend.

This time, I read up on the process on FFCobra.com. The consensus was to just keep breaking plastic with a chisel and a BFH. (That is, a hammer.) So I did that, and got the pushrod out. Then you're supposed to remove the aluminum fitting from the pushrod by heating it with a torch. Sounds like fun. I heated that thing up really good, then pulled on the fitting with some pliers.

Now the thing you need to know at this point is that the aluminum fitting is connected to the pushrod by means of a rubber bushing. You can't just cut the bushing, because it is inside the fitting. By heating it, what you're trying to do is melt the rubber, so the fitting slides right off.

I did more than melt the rubber. When the fitting came off, the rubber was so hot that it ignited, and I had a flaming pushrod in my vise, and a flaming fitting in my pliers. I just wish I had a picture of it.

Next up would have been the gas pedal, but after a little trial fitting, I decided to ditch the donor pedal. It just doesn't fit right, and the proposed modification from the build manual would result in the pedal pad being at a strange angle and the lever arms being all wrong. So I bought a Russ Thompson pedal from Breeze. Should have it in a couple of days, hopefully for installation this weekend.